Use Cash Drawers to keep track of money stored in your point-of-sale cash drawers. Record sales per drawer with daily Cash Drawer Closings and view opening and closing balances. Closings entered into the system automatically generate accounting that affect your sales accounts, bank accounts, and cash drawer asset account.
Getting Started
To get started, you have 4 easy steps
-
Enable Cash Drawer feature
-
Create a Cash Drawer
-
Create Cash Drawer Closings
-
View Closing Balance Detail Report
Enabling Cash Drawer Management
-
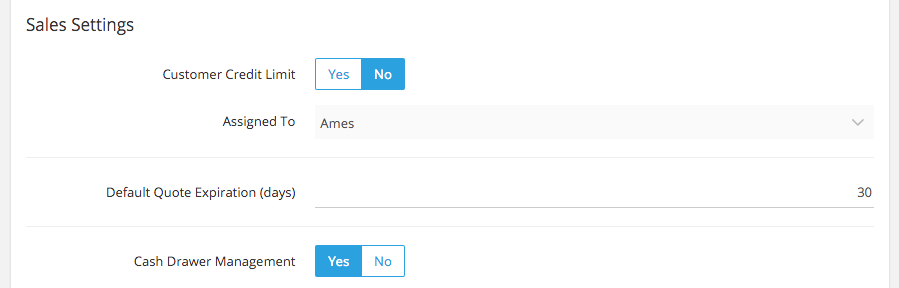
As an administrator, go to Settings > Company Settings
-
In the ‘Sales Settings’ section, set ‘Cash Drawer Management’ to ‘Yes’
-
Click refresh in your browser
-
Cash Drawers are now visible in Sales > Cash Drawers for any user that has access to the ‘Sales’ menu.
Create a Cash Drawer

To create a new cash drawer, go to Sales - Cash Drawers - New Cash Drawer
Pre-requisites:
Cash drawer requires the following things to be set up before creating your 1st cash drawer.
-
set up tax rates
-
set up bank accounts
-
set up custom sales accounts
Name, Notes and Currency
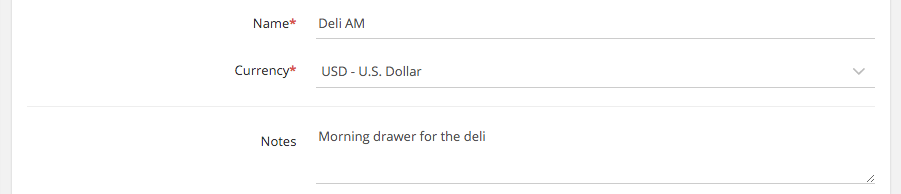
Set a name and description for this drawer to distinguish it from the others.
If you have multi-currency enabled for your account, you will also see a currency selector here. Each cash drawer can only record sales in one currency. If your cash register allows multiple currencies per shift, you will need to create a set of drawers, one for each currency.
» tip: If you do multiple shifts per day with one cash register, you should create separate drawers for each shift, such as AM drawer and PM drawer.
Default Sales Lines
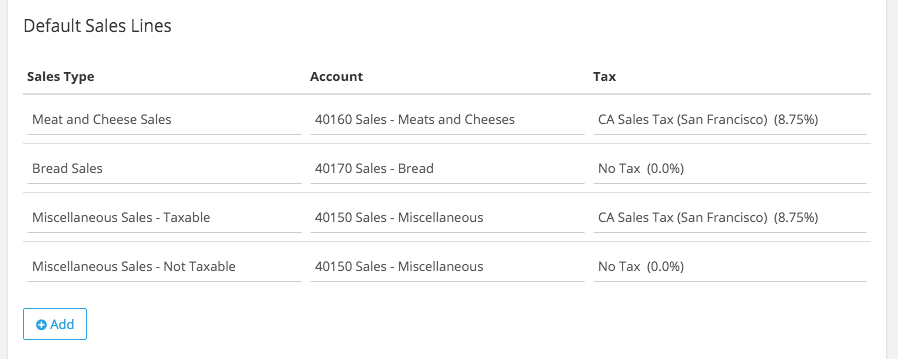
Set up your sales lines that will be used for each ring-out. It is best if this matches the way your organize your products in your cash register and how it will appear on the z-ticket.
Sales Type is for naming the sales category. Account is the sales account in your chart of accounts that you want each category to be debited to. Tax is the tax rate applied to the amounts you will enter off of your z-ticket.
» tip: A cash drawer must contain at least 1 Sales Line
Default Payment Lines
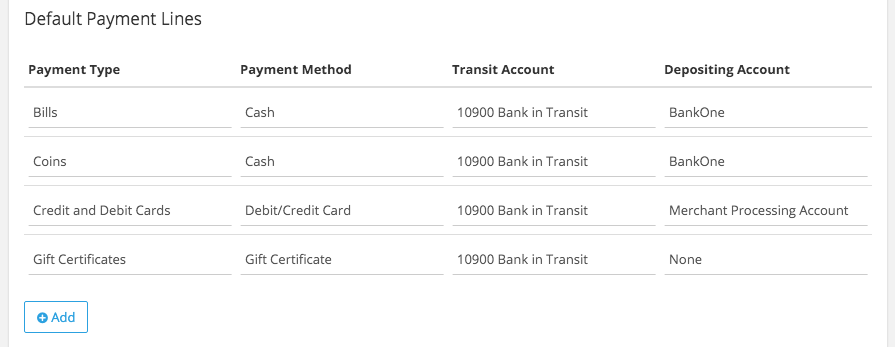
Set up the payment methods that are accepted by this cash drawer. This should match the way payments are split out on your z-ticket.
For each line you have a Payment Type (detailed description) and the Payment Method (general type). This allows you to have multiple cash lines, for Bills and Coins, for example; or multiple credit card lines, split by type (Visa / American Express / etc)
Transit Account is the account that payments of a certain Payment Type move through before they are deposited. For many countries, this is the same account for every Payment Type (such as U.S.) Other countries split this out individually (such as France).
If you fill a Depositing Account here, it will be selected automatically during each closing. If for a certain Payment Type the Depositing Account changes regularly, you may want to leave this blank.
» tip: A cash drawer must contain at least 1 Payment Line of the type Cash (for use with replenishments and expenses)
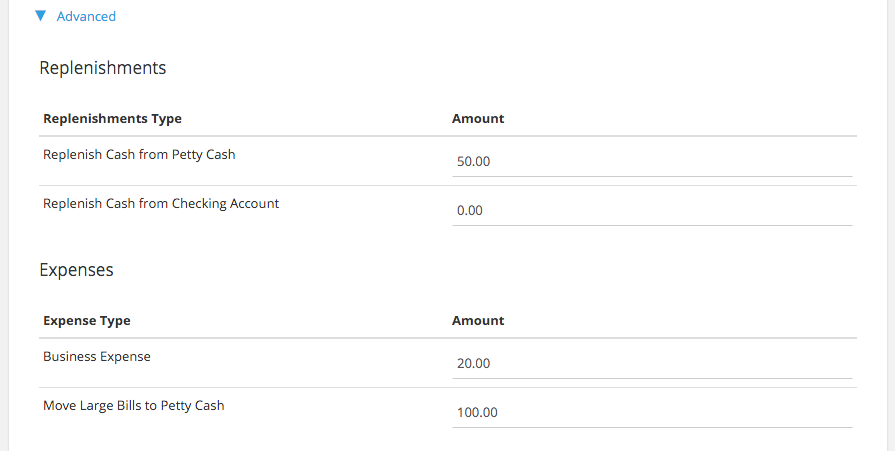
Replenishments Lines and Expense Lines
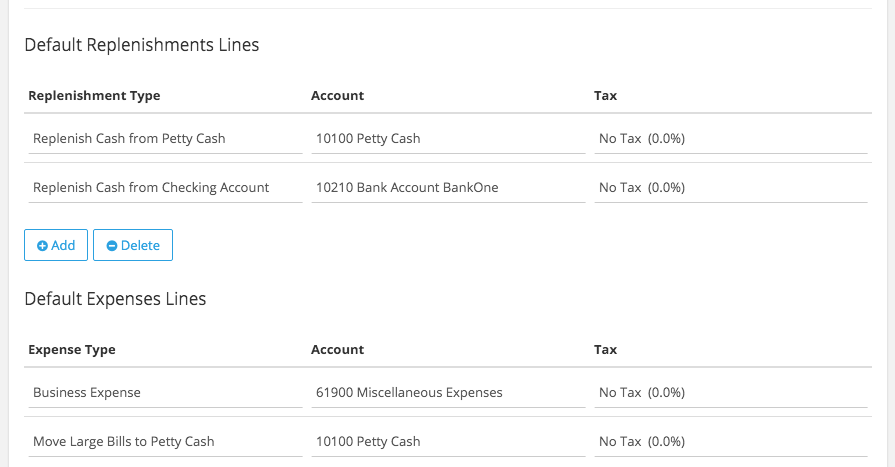
Replenishments and Expenses are used to account for additions and subtractions to a drawer during a shift that are not related to sales.
An example of a Replenishment Line is to re-fill the drawer with more cash if certain bills are getting low (“I ran out of 10s!”). An example of an Expense Line is if the owner decides to take money out of the till to pay a vendor on the spot for goods and services (“I need to pay the delivery man!”)
You can type a description of each Replenishment Type and Expense type here as well as fill the account these adjustments will affect in the accounting. Some good examples are shown above.
» Tip: You will rarely set taxes on replenishment lines. In U.S. you normally won’t fill out the taxable column for the expense since sales tax is included in the price of most products and services.
Advanced Section
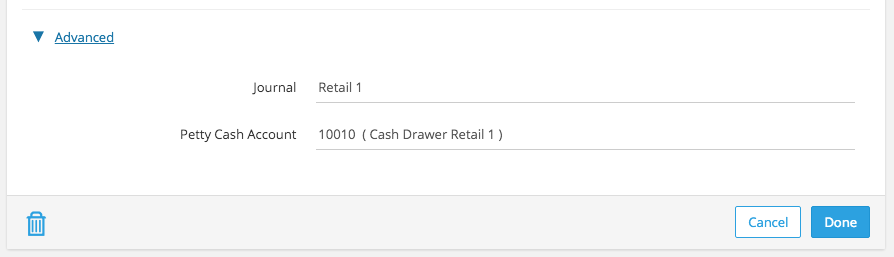
Normally you won’t need to set options in the Advanced section.
Journal changes which accounting journal all transactions generated with this drawer will be recorded under.
Petty Cash Account changes what accounting account will be used to store the Closing Balance of a drawer at the end of the latest shift.
Create Your First Closing
A Cash Drawer Closing is used to make a daily record of sales and payments for the selected cash drawer. Only one closing can be created per drawer, per day.
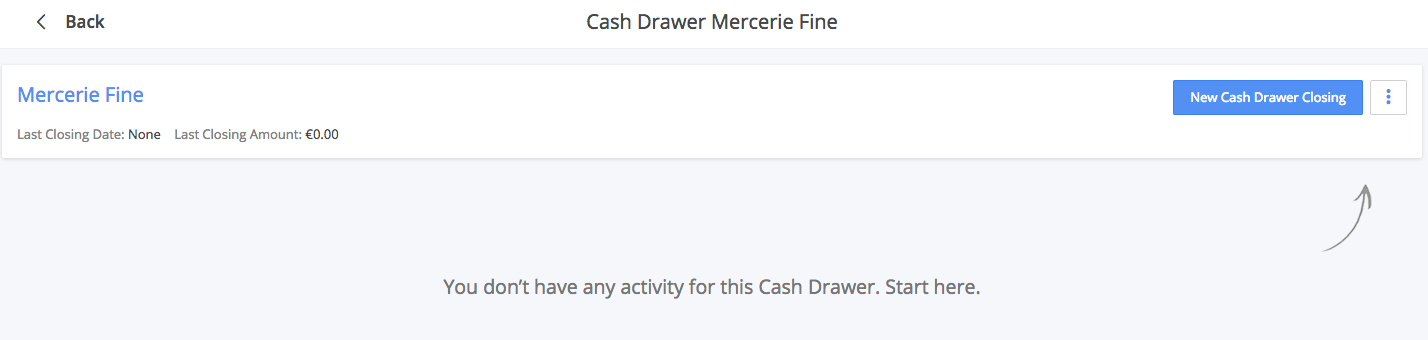
From the 360° View of the drawer, click “New Cash Drawer Closing”
The date for each closing is usually pre-filled as the date superseding the last closing for the selected drawer.
When you launch the New Cash Drawer closing, all the Sales, Payments, Replenishments, and Expenses that you set up in the drawer are created in the closing. All you need to do is print the z-ticket from your register and fill in the numbers.
Sales Section
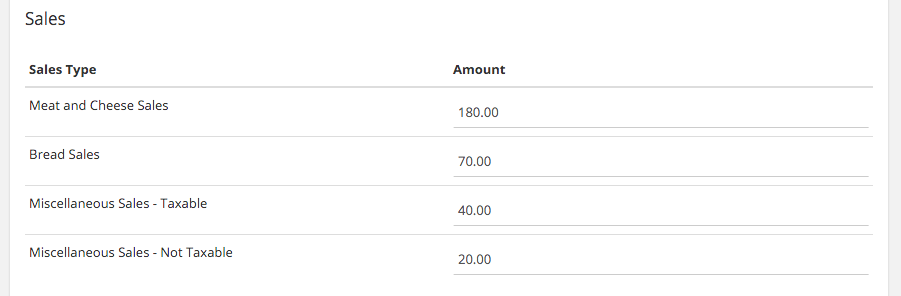
Enter the amount for each Sales Type (tax inclusive). You will see the total at the bottom of the screen update each time you press enter on a new sales amount. (Today’s Sales)
Payments Section

During the first closing, you are allowed to set the opening balance for this drawer. The numbers you input here will not create any accounting, but will just set the starting point for the drawer.
Enter the amount for each payment type from your z-ticket in the Amount column. Notice each time you press enter on a new payments amount, the total at the bottom of the screen updates (Today’s Payments)
This is also the section where you specify the Depositing Amount of each payment method. This is the amount that is taken out of the drawer at the end of the shift. The remaining amount will count towards the Closing Balance for that payment type.
If you select a Depositing Account for a payment type, that amount will be put into a “Bank Deposit” (accessible from the Bank Feeds in Accounting, or in Accounting > Bank Deposits). If the Depositing Account is set to ’None’ (or '--') the funds of that payment type will be held in Undeposited Funds.
The Adjustment column in the Payments section shows the total balance of adjustments entered in the Advanced section. (see below)
Totals

Totals of all Sales Lines and all Payment Lines are shown here, along with the total Closing Balance for this cash drawer closing.
» Tip: “Today’s Sales” must equal “Today’s Payments” before the Cash Drawer Closing can be saved. If there is an inequality, check each sales line and payment line to make sure everything is accurate.
Advanced Section
The Advanced section of the closing is where you can enter different types of Replenishments (money added) or Expenses (money taken out) of the cash drawer closing. All Replenishments and Expenses are distributed to the 1st Payment Line that is “Cash” type.
View your Closing Balance Detail Report
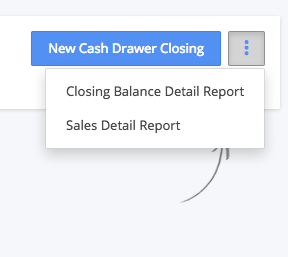
From inside the view of a specific cash drawer, you can print a Closing Balance Detail Report. This report shows a breakdown of the closing balance per payment type, per day. You can set a date range
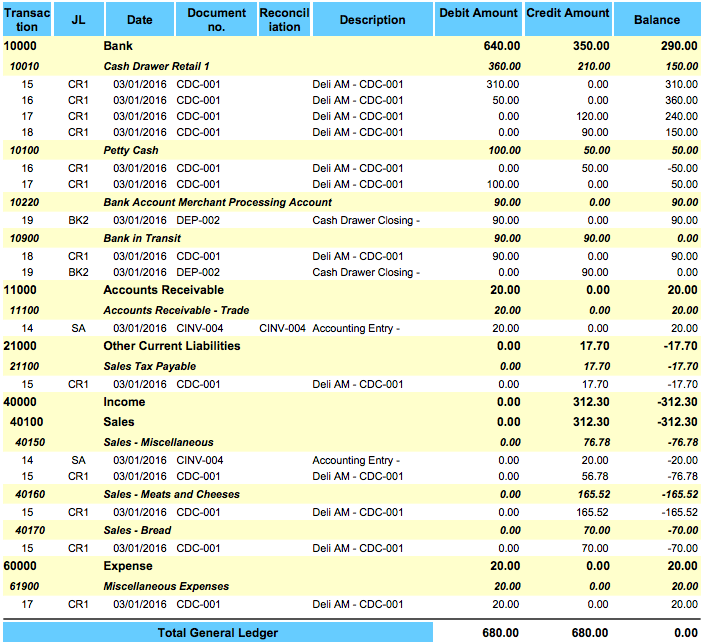
Accounting Generated from the Closing
Accounting is created in base currency each time you create a cash drawer closing. See below for the accounting generated for the example shown in this guide.
Some important Notes:
Editing closed cash drawer amounts
Any Cash Drawer closing amount is editable. If you change sales or deposited amounts (like an increase of 50$ for example), the closing balance for the next drawers will automatically be updated by the same amount (in our example by $50).
Editing closed cash drawer dates
Nevertheless, you won't be able to change the date. If the date was wrong, you'll have to delete the cash drawer and then recreate it.
Negative cash drawer balances
A closing cannot come with a negative balance, as it would not make any sense to pull out more than what you have put inside your drawer. Therefore, if you reduce the balance of a closed drawer and one of the further closing could fall in the negative, this will raise a red box error message at drawer validation. You will have to cancel your action and reopen the drawer to continue modification.
Edit payment types in closed cash drawers
Payments types (Credit Card, Cash...) are defined on the Cash Drawer set up. You can only remove a payment type if its balance is $0.00, which basically means that its balance was $0.00 in the last closing. It is not recommended to change payment types in closed cash drawers as you will get an error in processing.
Sync with Square
ONE UP cash drawers and closings do not sync with Square cash drawers. Do you want this feature? Let us know!